📋 Send Permit Checklist

Dispatch the Residential Permit Checklist report via email

Sent via PHPMailer through your configured SMTP.
  1. Home
  2. Residential Permit Checklist

Residential Permit Checklist — Contractor's Guide

Your complete, step-by-step guide to navigating California residential building permits — from scoping your project to scheduling final inspection.

This guide covers all 7 key steps for obtaining a residential building permit in California — from scoping the project and checking local jurisdiction requirements, to submitting your application, passing inspections, and receiving final approval. Permits ensure compliance with California Building Code (CBC), local zoning laws, and safety regulations. Skipping permits risks fines, stop-work orders, and costly rework.
🏗️ Permit Steps: 7 🗺️ Scope: California Statewide 👁 Views: 7
⚖️

Why Do You Need a Permit? — The Legal & Safety Case

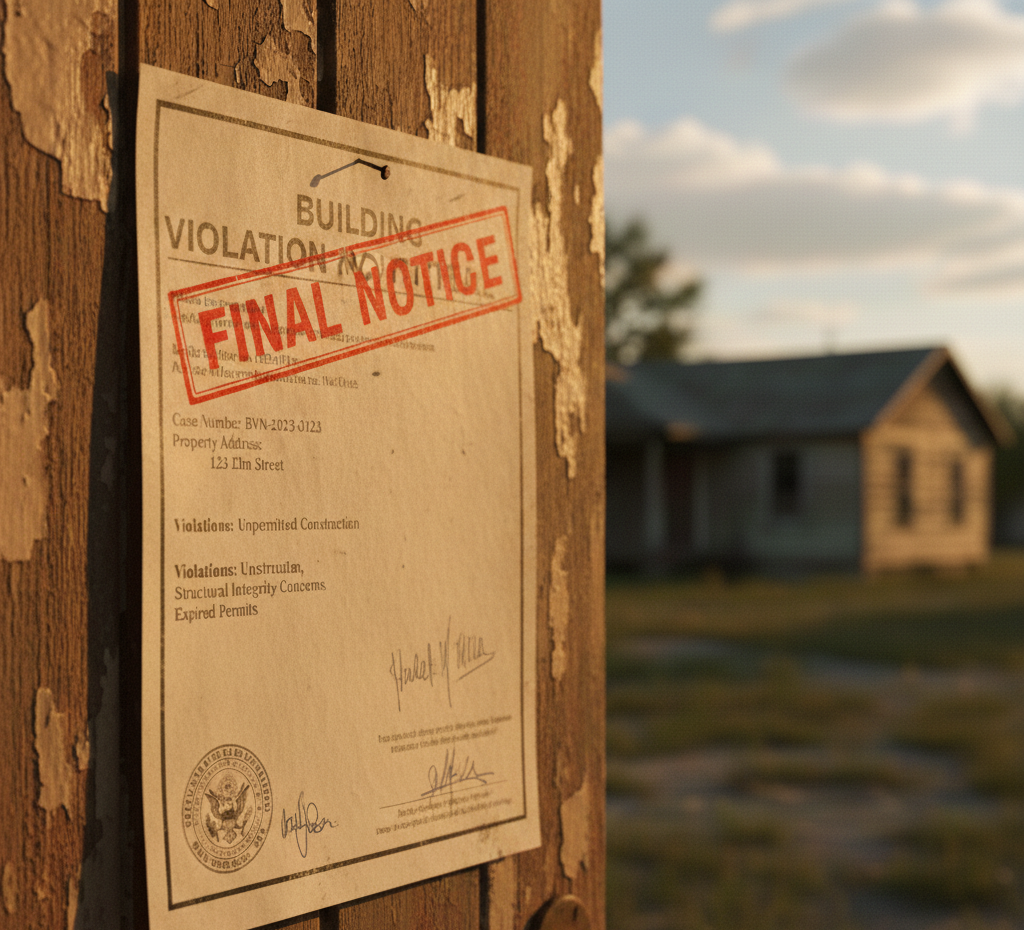
Permits are required under the California Building Code (CBC) to ensure every project meets structural, electrical, plumbing, and fire safety standards. Building without a permit risks stop-work orders, fines up to thousands of dollars, mandatory demolition of non-compliant work, and insurance claim denials. Local jurisdictions — counties and cities — each have their own supplemental rules layered on top of state code, making it essential to verify requirements before breaking ground. When in doubt, permit first, build second.

The 7-Step Permit Process
🔎
Step 1
Determine Scope
Identify whether your project requires a permit. Structural, electrical, plumbing, and mechanical work almost always do. Simple cosmetic repairs typically do not.
🗺️
Step 2
Check Local Requirements
California's building codes vary by city and county. Verify your local jurisdiction's requirements — what applies in Los Angeles may differ in San Francisco or Fremont.
📄
Step 3
Get Necessary Forms
Gather all required documents: permit application forms, project site plans/blueprints, energy efficiency documentation, and any trade-specific forms (electrical, plumbing, mechanical).
📬
Step 4
Submit Your Application
Submit all forms plus required fees to your local building department. Fees range from ~$200 for small remodels to $750+ for full renovations depending on scope and jurisdiction.
Step 5
Wait for Approval
Review times range from a few days to several weeks depending on complexity. The department may request additional information or modifications during review.
🔍
Step 6
Schedule Inspections
After receiving your permit, schedule phased inspections at each construction milestone — foundation, framing, rough plumbing, rough electrical, insulation, and more.
🏆
Step 7
Final Inspection & Approval
Once all work is complete, schedule the final inspection. If everything passes, you receive final approval — your project is now legally complete and compliant.

💰 Typical Permit Fee Breakdown by Project Type

Approximate California averages — actual fees vary by jurisdiction and project valuation.

Full Home Renovation $750+
Room Addition $550
Kitchen Remodel $450
Deck Addition $350
Bathroom Remodel $200
Electrical Panel Upgrade $150

📅 Permit Process Timeline

Typical durations for a standard residential permit in California — complex projects may take longer.

📋
Submission
Day 1
Submit forms + fees
🔎
Plan Review
Days 3–10
Dept reviews plans
✉️
Corrections
If needed
Revise & resubmit
Permit Issued
Days 10–21
Approved permit card
🔨
Construction
Variable
Build with permit posted
🔍
Inspections
Multiple phases
Scheduled as needed
🏆
Final Approval
Project complete
Certificate of Occupancy

✅ Complete Permit Submission Checklist

Determine if your project scope requires a permit
Verify local jurisdiction requirements for your city/county
Complete the correct permit application form for your project type
Prepare site plans, blueprints, and structural calculations
Include energy efficiency documentation (Title 24 compliance)
Calculate and include required permit fee payment
Submit all trade permits separately (electrical, plumbing, mechanical)
Post the approved permit card on the job site before starting work
Schedule each required phased inspection on time
Schedule final inspection once all work is 100% complete
Obtain Certificate of Occupancy (if applicable)
Retain all permits and inspection records for your files

🔍 Required Inspections by Stage

Schedule each inspection at the correct construction phase — failure to do so may require costly rework.

Inspection Type When to Schedule What's Checked Status
Foundation / Soils After excavation, before concrete pour Soil conditions, footing dimensions, rebar placement Required
Rough Framing After framing is complete, before sheathing Structural members, connectors, shear walls, headers Required
Rough Plumbing After rough plumbing, before walls are closed Pipe sizing, venting, drainage slopes, cleanouts Mandatory
Rough Electrical After rough wiring, before drywall Wire gauges, panel connections, grounding, AFCI/GFCI Mandatory
Insulation Before drywall is installed R-value compliance, vapor barriers, Title 24 Required
Drywall / Sheathing After drywall hung, before taping/finish Nailing patterns, fire blocking, corner bead Mandatory
Final Inspection After ALL work is 100% complete Full system walkthrough, life-safety, occupancy clearance Final — Required
In-Depth Permit Guides
Contractor reviewing project scope
Steps 1 & 2 — Scope & Jurisdiction

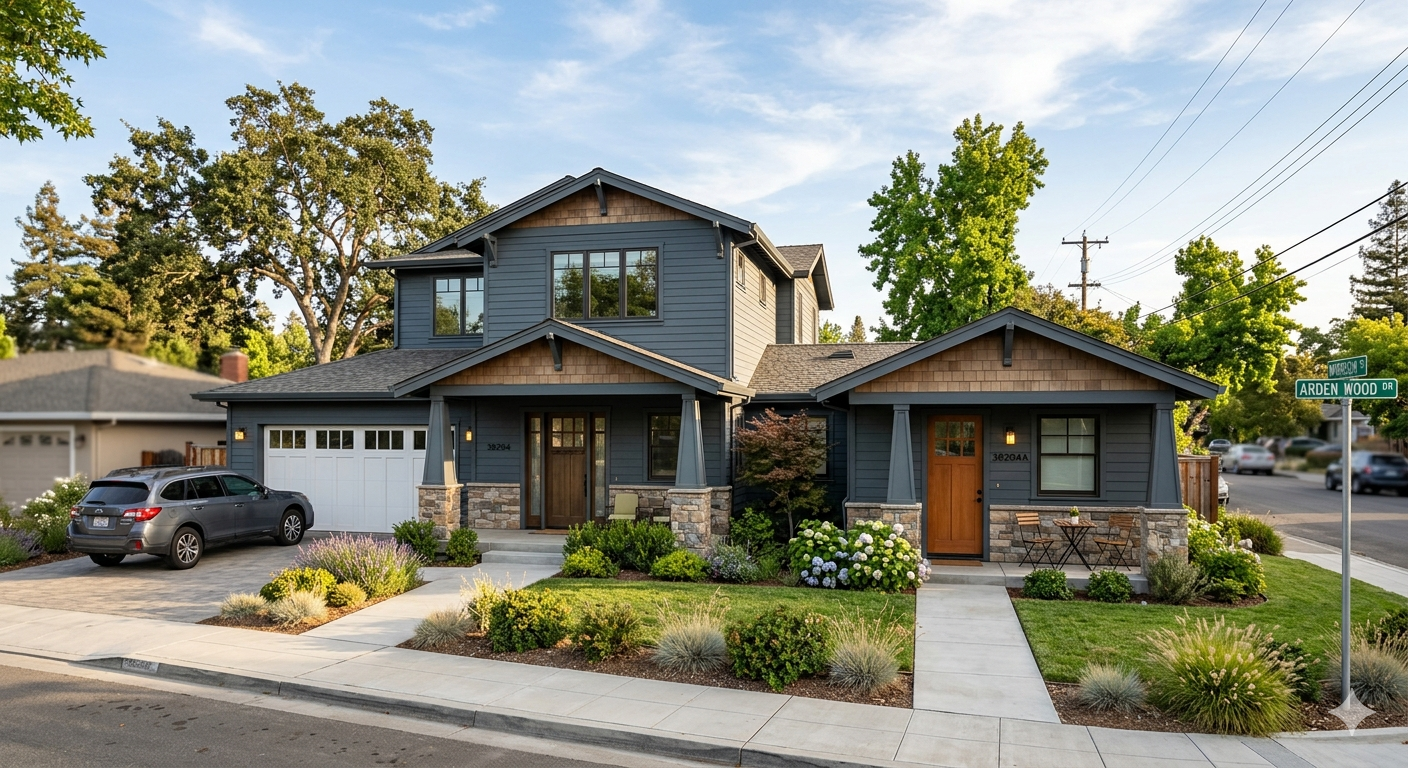
Does Your Project Need a Permit? Know Before You Build

Not all work requires a permit — but anything involving structural changes, new electrical circuits, plumbing relocations, HVAC modifications, or additions to your home's footprint will. Cosmetic work like painting, flooring, and cabinet replacements typically does not.

California's building codes vary significantly by locality. Always check with your local building department before starting — municipalities can have stricter requirements than state minimums.

"When in doubt, ask your building department first — the consultation is free, but fixing unpermitted work is not."
Permit paperwork and plans
Step 3 — Documentation

Getting Your Paperwork Right the First Time

Incomplete or incorrect submissions are the #1 cause of permit delays. Every application requires a completed permit application form, two sets of dimensioned site plans, architectural drawings, and energy compliance (Title 24) documentation.

Trade work requires separate forms: electrical, plumbing, and mechanical permits are issued independently, even if construction work is happening concurrently.

  • 📋
    Completed building permit application form
  • 📐
    Two sets of dimensioned site plans & floor plans
  • Title 24 energy compliance documentation
  • 🔧
    Separate trade permit forms (electric/plumbing/HVAC)
Permit fee payment
Steps 4 & 5 — Submission & Approval

Submitting Your Application & What Happens Next

Submit your complete package — forms, plans, and fee payment — to the local building department's permit counter or online portal. Most California jurisdictions now offer online submission for straightforward projects.

Avoid Delays: Incomplete applications are returned without review. Double-check that all plans are fully dimensioned, all forms are signed, and fees match the current fee schedule before submitting.
  • 1
    Submit full package in person or via the online portal
  • 2
    Pay fees at time of submission (fee schedules vary)
  • 3
    Await plan check — simple projects: 3–5 days; complex: 2–4 weeks
  • 4
    Respond promptly to any correction requests to minimize delays
Inspector on site
Step 6 — Inspections

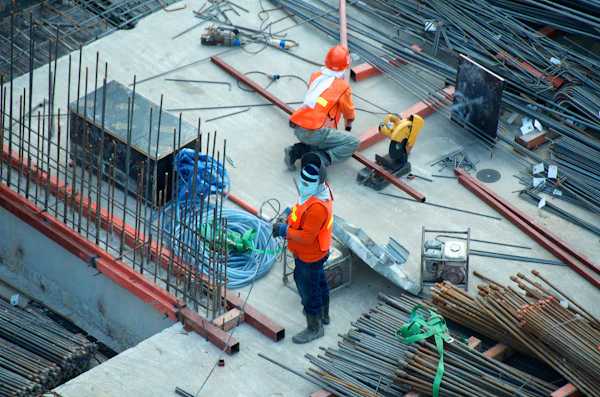
Phased Inspections — Don't Skip a Stage

Inspections happen at specific phases of construction — not just at the end. Each phase must be approved before you move to the next. Covering work before an inspection means it will have to be uncovered at your expense.

Always post your permit card visibly on the job site. Inspectors will check for it. Schedule inspections at least 24–48 hours in advance to guarantee availability.

Critical Rule: Never cover rough framing, plumbing, or wiring before the respective inspection is completed and signed off. Doing so is a code violation and will require destructive uncovering.
Completed home handover
Step 7 — Final Approval & Record Keeping

Final Inspection & Staying Organized After Approval

The final inspection confirms that all work matches the approved plans and that every system — structural, electrical, plumbing, mechanical, and life-safety — is fully compliant. Once passed, you'll receive your Certificate of Occupancy (C of O) if required for your project type.

After approval, retain all permits, inspection cards, and documentation permanently with your property records. Future buyers, lenders, and insurance companies will ask for proof of permitted work.

Pro Tip: Scan all permit documents and store digital copies in the cloud. Paper permits fade and get lost — digital backups protect you for the lifetime of the property.
Pro Tips for a Smooth Permit Process
🗓️
Plan Ahead
Permitting can take weeks for complex projects. Apply early — don't let a delayed permit become your project's critical path. Build permit timelines into every project schedule.
👩‍💼
Use a Permit Expeditor
For large or complex projects, a permit expeditor navigates the building department on your behalf, catches documentation errors, and can cut approval time significantly.
📁
Keep Complete Records
Store permits, signed inspection cards, approved plans, and correspondence permanently. These documents follow the property and are required for future sales, refinancing, and insurance claims.
🌐
Use Online Portals
Most California jurisdictions now offer online permit submission, status tracking, and inspection scheduling. Online submission eliminates wait times at the counter and provides real-time status updates.
📞
Call Before You Dig
Before any excavation or grading, call 811 (California's "Call Before You Dig" line) to locate underground utilities. Striking a gas, water, or electric line is dangerous and expensive — and always the contractor's liability.